Create a Project
The first step is to create your Project. The project represents everything on your web site that will be accessible from the home page.
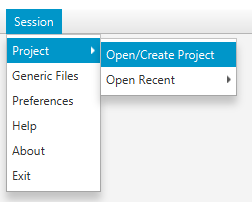
Use the Open/Create Project option from the Session menu. This will allow you to navigate to and/or create the folder that will store your project files.
You can put your projects anywhere on your hard drive that makes sense to you. They do not all need to be located in the same area if don't want them together; SiteLinker will remember where you placed each one when you go back later to open recent projects.
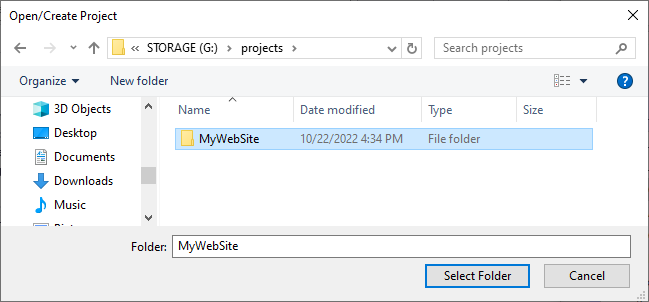
To open a project, select the folder with the project's name in the file navigator. In this example, the project folder (and thus the project name) is "MyWebSite". If the folder does not yet exist, you can use the New folder option to create it.
You can also open the MyWebSite folder, as long as you don't select any subfolder inside of it. The important thing is the folder name listed at the bottom in the Folder: box.
Once you select the folder, if no project has yet been created there, you will be asked if you wish to create one. If the project has already been created, it will simply be opened.
